
TLDR
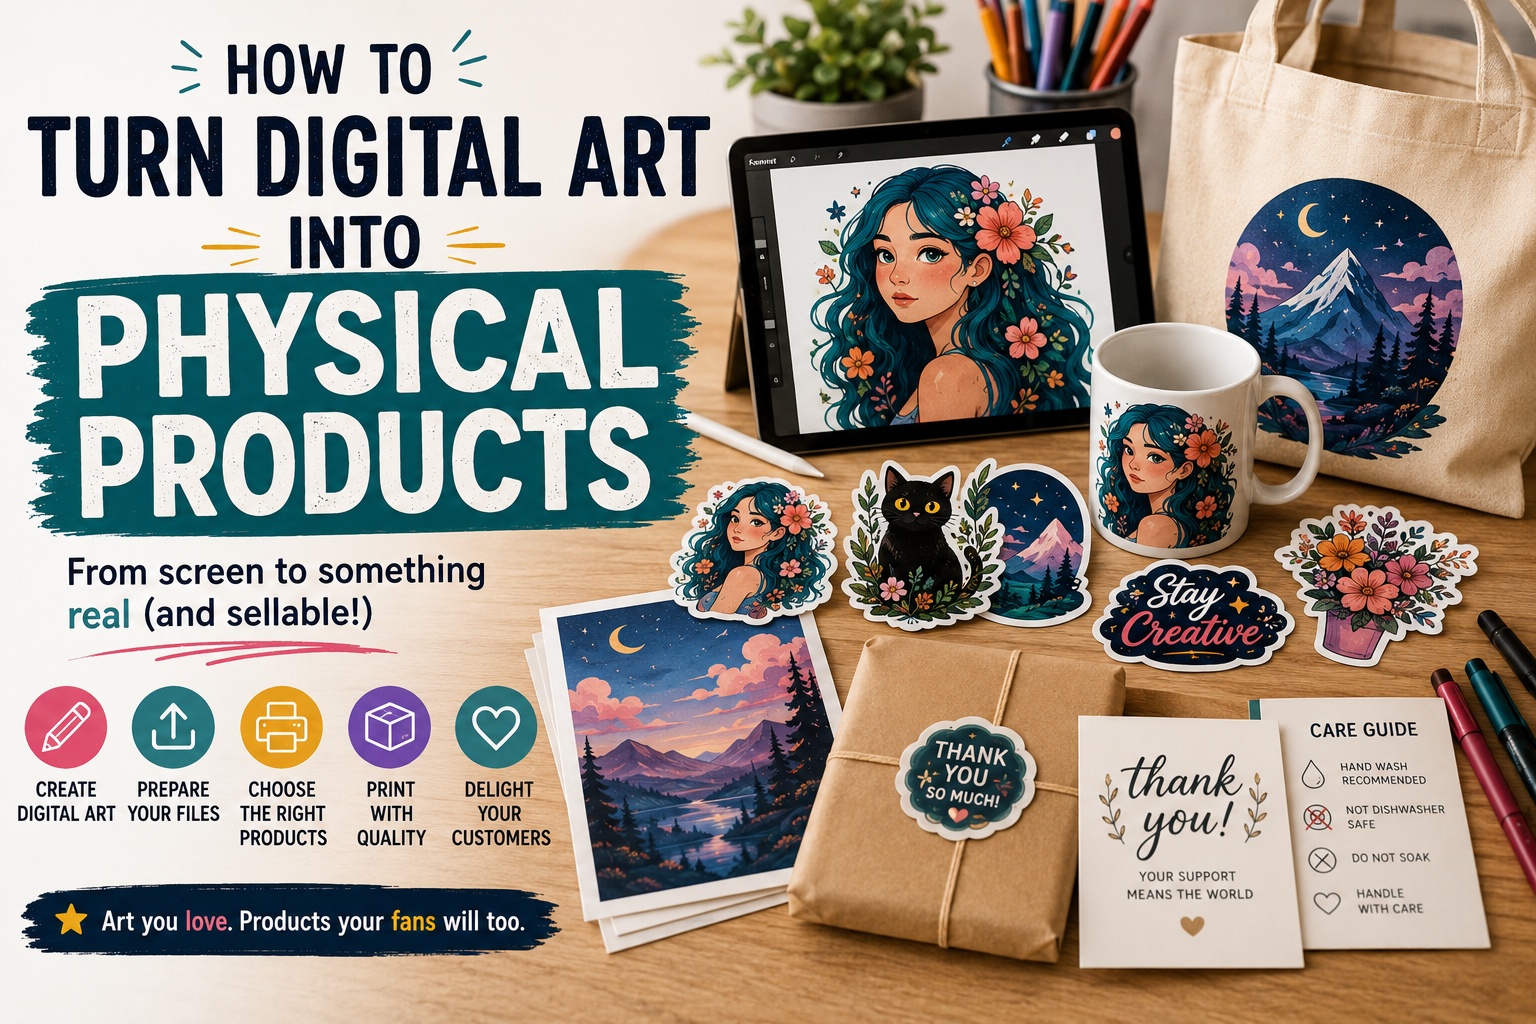
You can turn digital art into physical products by choosing the right format, preparing print-ready files, testing small batches, and building a simple product line around your strongest designs.
Start with products that are easy to sell and ship, like stickers, art prints, greeting cards, sticker sheets, and small merch items. Then expand into apparel, packaging, wholesale, or limited drops once you know what buyers respond to.
The key is to treat your digital artwork like a real product, not just an exported image.
Introduction
A digital artwork can live on a screen forever. But it hits differently when someone can hold it, frame it, stick it on a laptop, give it as a card, or wear it on a tote bag.
That is why learning how to turn digital art into physical products is such a useful step for artists, illustrators, designers, and small creative brands. Physical products give your work more places to go. They can sit on a market table, ship in an online order, become part of a gift, or help fans support your work at different price points.
You do not need to launch with twenty products. In fact, that is usually the hard way. A better path is to start with a few strong pieces of digital art, choose product types that fit the artwork, prepare the files carefully, and test the response before ordering too much inventory.
A good physical product should feel intentional. It should look clear, print well, make sense for your audience, and be easy enough to package and sell. That sounds simple, but it is where many artists get stuck. A piece that looks great on Instagram may need changes before it works as a sticker, print, shirt transfer, or product label.
Here is how to move from digital file to physical product without making the process more complicated than it needs to be.
Start With the Right Product Format
The first decision is not “Where should I print this?” It is “What should this artwork become?”
Different artwork fits different products. A detailed fantasy landscape may work beautifully as an art print, but not as a tiny sticker. A bold character with a clean outline may be ideal for stickers. A simple icon, phrase, or logo may work better on apparel, packaging, or business cards.
Here are common product options for digital artists:
| Product Type | Best For | Notes |
|---|---|---|
| Stickers | Characters, icons, logos, small illustrations | Easy to sell, ship, bundle, and collect |
| Art prints | Detailed illustrations, photography, poster-style work | Good for higher perceived value |
| Sticker sheets | Small icons, themed sets, planner designs | Great for collections and stationery shops |
| Greeting cards | Seasonal art, lettering, cute illustrations | Works well for gifting and markets |
| Apparel transfers | Bold designs, mascots, typography, merch drops | Best when the design reads clearly from a distance |
| Business cards | Artist branding, market handouts, package inserts | Useful for repeat buyers and networking |
| Labels | Product packaging, handmade goods, candles, jars | Helps turn art into a branded product line |
For many artists, stickers and prints are the best first products. They are familiar, flexible, and easier to store than bulky items. They also let you test which artwork people actually buy before building a larger merch collection.
Choose Artwork That Works in the Real World
Digital art can hide small problems. A screen glows. A product does not.
Before printing, look at your artwork with the final product in mind. Ask a few practical questions:
- Can the design be understood quickly?
- Will the main subject still look good at the final size?
- Are the colors strong enough without a backlit screen?
- Is the text readable?
- Are the edges clean?
- Does the shape make sense for the product?
- Would someone want to use, display, or gift this?
This is especially important for stickers, labels, apparel, and cards. Small text, thin lines, and low-contrast colors can disappear once printed. If your art has a lot of tiny details, you may need to simplify it or choose a larger product format.
One useful trick is to print your artwork on regular paper at the actual size. It does not need to be perfect. You are checking scale, readability, and composition. Hold it at arm’s length. Put it next to a notebook, laptop, water bottle, shirt, or frame. You will usually spot the issues fast.
A piece of digital art does not need to be changed beyond recognition. But it should be adapted to the product.
Prepare Print-Ready Files
This is where a lot of physical products succeed or fail.
Start with the highest-quality version of your artwork. Avoid exporting from social media or using compressed screenshots. Use the original file from Procreate, Photoshop, Illustrator, Clip Studio Paint, Affinity Designer, or whatever tool you created it in.
For most print products, you should think about:
- resolution
- size
- color
- bleed
- safe margins
- file type
- transparency
- cutline or trim area
A common target for raster artwork is 300 DPI at the final print size. That means if you want an 8×10 print, the file should be large enough to print clearly at 8×10. For stickers, the file should still be high resolution even if the final product is only 3 inches wide.
Vector files are useful for logos, lettering, icons, and clean graphic art because they scale without losing sharpness. But vector is not required for every product. High-resolution PNG, JPG, PDF, SVG, AI, and EPS files can all work depending on the printer and product.
If the product will be cut to shape, like a die cut sticker, make sure the edge is clean. A transparent PNG can work well for simple sticker artwork. If you want a white border, leave room for it or explain that in the proof notes.
When ordering artwork stickers, the proofing step is helpful because you can see how the sticker will be printed and cut before production. That is especially useful when you are turning digital art into a physical product for the first time.
Start With Stickers Because They Are Easy to Test
Stickers are one of the best starter products for digital artists.
They are affordable to produce in small runs, easy to ship, simple to photograph, and useful for a wide range of audiences. Customers can put them on laptops, water bottles, journals, phone cases, skateboards, packaging, toolboxes, and notebooks. That makes them more casual than a print, which can help with impulse buys.
Good sticker designs usually have:
- bold shapes
- a clear subject
- strong contrast
- readable details
- a clean border or edge
- a size that matches the use
You can sell stickers as singles, bundles, limited drops, freebies, or add-ons. A $3 or $4 sticker may not feel like a big decision for a customer, but it can still introduce them to your work.
Sticker sheets are another smart format. If you have a group of small designs, icons, phrases, stars, flowers, animals, or characters, a sheet can make them feel like a finished collection. Instead of selling five tiny stickers separately, you can sell one themed product.
For collections, sticker sheets are a natural fit because they let you place multiple designs on one backing sheet. This works well for planner stickers, journaling sets, character packs, stationery, and themed art drops.
Turn Detailed Work Into Art Prints
Art prints are often the next step after stickers.
They work well when your digital art has enough detail, atmosphere, or composition to be displayed. Prints can be sold online, at conventions, in local shops, at art markets, or bundled with smaller products.
Common print sizes include:
- 5×7
- 8×10
- 8.5×11
- 11×14
- 12×18
- 16×20
Smaller prints are easier to ship and price. Larger prints can feel more substantial, but they need better packaging and may cost more to mail safely.
When preparing artwork for prints, pay close attention to crop and aspect ratio. An illustration made for a square Instagram post may not naturally fit an 8×10 print. You may need to expand the background, crop carefully, or offer a square print size instead.
A print should also have enough breathing room. Do not push important details too close to the edge unless you are intentionally using full bleed. Many artists leave a border because it makes the print easier to frame and safer to trim.
For artists who want a simple printed product beyond stickers, custom art prints can turn finished digital artwork into pieces that are easier to sell, frame, package, or display.
Use Apparel Carefully
Apparel can be a great physical product, but it is not always the easiest first product.
Shirts, hoodies, and tote bags have more variables than stickers or prints. You need to think about garment color, sizing, placement, fabric, wash durability, inventory, and fulfillment. A design that looks excellent on a poster might feel too busy on a shirt.
Apparel works best when the design is bold and readable. Strong typography, mascots, graphic icons, simple illustrations, and logo-based designs often work better than highly detailed digital paintings.
Before launching apparel, ask:
- Does the design read from several feet away?
- Does it work on both light and dark fabric?
- Is the artwork shaped well for a chest print or back print?
- Does the design fit the audience’s style?
- Can I sell enough to justify the extra setup?
For small runs, transfers can be a flexible option. DTF transfers for custom apparel let artists create full-color designs for shirts, hoodies, and totes without turning every design into a huge inventory commitment right away.
That flexibility matters. Apparel is easier to test when you do not have to guess every size, color, and quantity too early.
Build a Product Line, Not Just Random Items
Once you start turning digital art into physical products, it is tempting to print everything.
Resist that for a bit.
A product line works better when the items feel connected. Customers should understand why the stickers, prints, cards, and merch belong together. This makes your shop easier to browse and your booth easier to understand at markets.
You can build a collection around:
- one character
- one color palette
- one theme
- one season
- one illustration series
- one mood
- one product use
- one event or launch
For example, a botanical artist could create a small collection with three art prints, a sticker sheet, a greeting card, and a packaging sticker. A fantasy illustrator could create a dragon print, three creature stickers, and a limited shirt design. A lettering artist could create quote stickers, postcards, and tote bag transfers.
The products do not need to match perfectly. They just need to feel like they came from the same artist.
Add Branding and Packaging
A physical product is more than the printed item. It is also the way the customer receives it.
Packaging can make digital art feel more finished. This does not mean you need custom boxes for every order. A simple packaging system is often enough.
For art prints, you may need backing boards, sleeves, rigid mailers, and a branded insert. For stickers, you may use small envelopes, backing cards, thank-you cards, or freebie stickers. For apparel, you may use branded stickers, folded inserts, care cards, or tissue paper.
Small branded print pieces can help too:
- business cards
- thank-you cards
- care cards
- product labels
- QR code cards
- sticker seals
- package inserts
A customer may buy the artwork, but the packaging shapes the experience. It tells them whether the product feels handmade, polished, playful, premium, casual, or giftable.
You can also use printed business cards and other brand materials to keep your product packaging, market handouts, and customer inserts consistent. That is useful when your art starts becoming a real product line instead of one-off experiments.
Test Small Before Ordering Big
Testing is where artists save money.
A design may get a lot of likes online and still sell slowly as a physical product. Another design may seem simple but sell out at a market. You will not always know until people have a chance to buy it.
Start with a small batch when possible. Test the product quality, packaging, photos, pricing, and customer response. If it works, reorder. If it does not, adjust before spending more.
A useful test run might include:
- 25 to 50 stickers
- 10 to 25 prints
- one sticker sheet design
- one apparel design
- one small card set
Track what happens. Which design gets picked up first? Which product gets added to orders? Which one people mention in reviews? Which one sits in inventory?
Small tests also help you improve the file. You may notice that a border should be thicker, a print should be larger, or a color needs adjustment.
The first version does not need to be the final version.
Price for Profit, Not Just Materials
Pricing physical products can feel uncomfortable, especially for artists. But pricing too low creates a real problem.
Your price needs to cover more than the printed item. It should account for:
- production cost
- packaging
- shipping supplies
- platform fees
- payment fees
- damaged or lost items
- your time
- product photography
- design time
- profit
A sticker that costs $1 to produce should not automatically sell for $1.50. That leaves little room for packaging, fees, and time. A print that costs $4 to produce may need to retail for much more once you include a sleeve, backing board, mailer, labor, and margin.
Common product pricing varies by audience and quality, but the basic idea is the same: price the product like you plan to keep selling it.
Bundles can help. Instead of selling one sticker at a time, offer a three-pack or themed collection. Instead of selling one print alone, offer a print-and-sticker bundle. Bundles can increase order value while giving customers a reason to buy more.
Photograph the Product Like It Is Real
Once your digital art becomes a physical product, show it that way.
Mockups can be useful, but real product photos build more trust. Customers want to see the size, finish, texture, packaging, and how the product looks in normal use.
For most physical art products, take:
- one clean product photo
- one scale photo
- one detail photo
- one lifestyle photo
- one packaging photo
- one group photo if it is a set
A sticker should be shown in hand or on a laptop. A print should be shown flat and, if possible, framed or leaned on a shelf. A shirt should be photographed on a real garment, not only as a flat design file. A card should show the front, inside if relevant, and envelope.
Do not over-edit the photos. Customers should get a realistic idea of the color and material. Pretty photos are nice. Accurate photos are better.
Decide Where to Sell
You can sell physical products in several places:
- Etsy
- Shopify
- personal website
- art markets
- conventions
- local shops
- pop-up events
- Patreon or membership rewards
- wholesale to boutiques
- social media drops
Each channel has tradeoffs.
Etsy can help with search traffic, but it has fees and competition. Shopify gives more control, but you bring more of your own traffic. Markets and conventions are great for testing because you can see how people react in person. Wholesale can move more units, but margins are usually lower.
Do not try every channel at once. Start where your audience already is, then expand.
Protect Your Work Before You Scale
If you are turning digital art into physical products, make sure the artwork is yours to sell.
Original art is the safest foundation. Be careful with fan art, trademarked logos, celebrity likenesses, sports teams, brand references, and characters owned by someone else. Even if similar products exist online, that does not mean they are safe to sell.
Keep your original files, sketches, exports, and product proofs organized. Save dated versions. Keep notes on where designs have been used. This becomes more important as your shop grows, especially if you sell wholesale, license art, or work with other brands.
You do not need to make this part scary. Just take your work seriously from the start.
A Simple Launch Plan for Digital Artists
Here is a practical first launch plan:
- Choose three to five strong pieces of art.
- Pick two product types, such as stickers and prints.
- Prepare print-ready files at the correct size.
- Order a small test batch.
- Review the color, material, cut, and packaging.
- Photograph the products in good light.
- Write clear listings with size and material details.
- Launch as a small collection.
- Track what sells.
- Reorder the winners and improve the rest.
This keeps the first launch manageable. It also gives you room to learn.
You are not trying to build a full merch empire in one weekend. You are proving which pieces of digital art work as physical products.
Common Mistakes to Avoid
The most common mistake is using a low-resolution file. Always start with the cleanest version of the art.
Another mistake is choosing the wrong product for the artwork. Not every illustration should become a shirt. Not every detailed painting should become a small sticker.
Other mistakes include:
- ordering too much inventory too early
- skipping the proofing process
- ignoring actual product size
- using tiny text
- forgetting packaging costs
- setting prices too low
- relying only on mockups
- choosing too many product types at once
- copying trends that do not fit your art style
Most of these mistakes come from rushing. Slow down just enough to test the product properly.
Conclusion
Turning digital art into physical products is one of the best ways to make artwork feel more tangible and sellable. It gives your audience new ways to support you, and it gives your work a life beyond the screen.
Start simple. Choose artwork that fits the product. Prepare clean files. Test stickers, prints, cards, or apparel in small batches. Photograph everything clearly. Package it with care. Then build around what people actually buy.
A physical product does not need to be complicated to feel good. It just needs to be clear, well made, and true to the art.
FAQs
What is the easiest physical product to make from digital art?
Stickers are often the easiest starting point because they are small, affordable, easy to ship, and simple to sell as singles or bundles. Art prints are also a strong option for more detailed work.
What file type should I use for printing digital art?
It depends on the product and printer, but high-resolution PNG, JPG, PDF, SVG, AI, and EPS files are common. For raster artwork, start with a high-resolution file at the final print size or larger. For logos and lettering, vector files are helpful.
Can I sell digital art as stickers?
Yes. Digital art can work very well as stickers if the design has a clear shape, readable details, and enough contrast. Character art, icons, logos, plants, animals, lettering, and small illustrations are common choices.
Should I use print-on-demand or order inventory?
Print-on-demand can be good for testing products without holding inventory. Ordering inventory can give you more control over quality, packaging, margins, and shipping experience. Many artists use a mix of both.
How many products should I launch with?
Start with a small collection. Three to five designs across one or two product types is usually enough for a first launch. You can expand after you see what sells.
Do I need custom packaging?
Not at first. Plain packaging can still feel polished with stickers, labels, thank-you cards, care cards, and clean wrapping. Custom boxes are usually better once your order volume and product sizes are more predictable.